Be.Smart ERP Picker
(EN) ERP Picker
(EN) ERP Picker
  • â„šī¸What is Be.Smart ERP Picker?
  • âš™ī¸System Requirements
  • 🔑Installation & Activation Guide
  • 🆕What's New
    • Version 2.2.1.0
    • Version 2.1.3.0
  • Common information
    • Application configuration
      • Configuration file structure
      • Configuration file location
      • Configuration file parameters
        • Section [Settings]
        • Section [Mappings]
        • Section [MappingsC]
      • Examples of connections to data sources
        • Text file (txt | csv)
        • MS Excel
        • MS Access
        • MS SQL
        • Autodesk Vault
    • Overview of error messages
  • ERP Picker (Inventor add-on)
    • Basic description of functionality
    • Overview of commands
      • Be.Smart ERP Picker
        • Pick & Exit
        • Pick & Exit (Custom)
        • Export to file
        • Cancel
        • About
        • Help
        • Filtering and searching
        • Panel of additional information
      • Config
        • Edit config
        • Open folder
        • Exit
        • About
        • Help
      • About
  • ERP Picker (standalone app)
    • Basic description of functionality
    • Overview of commands
      • Export to file
      • Open folder
      • Cancel
      • About
      • Help
      • Filtering and Searching
      • Panel of additional information
Powered by GitBook
On this page
  • Procedure
  • 1. Verify system requirements
  • 2. Download the installation file
  • 3. Starting the installation program
  • 4. Acceptance of the licence agreement
  • 5. Allow changes to be made
  • 6. Wait
  • 7. Completing the installation
  • 8. Starting Inventor
  • 9. Unblock the add-on (if necessary)
  • 10. Choosing a web licence
  • 11. Login
  • 12. Close the license window
  • 13. Continue in Inventor
  • License renewal

Installation & Activation Guide

PreviousSystem RequirementsNextWhat's New

Last updated 1 year ago

Procedure

1. Verify system requirements

Make sure your system meets the recommended for Autodesk Inventor and that you have sufficient permissions to install applications.

2. Download the installation file

Use the official .

3. Starting the installation program

Once the download is complete, double-click the file and start the installation process.

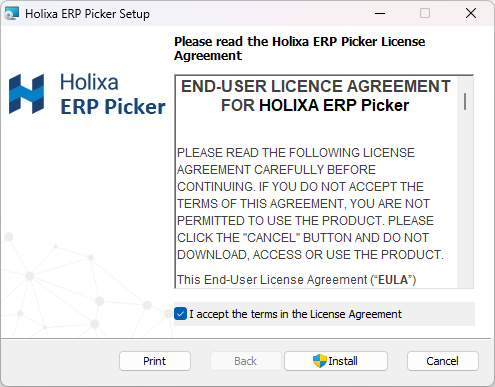
4. Acceptance of the licence agreement

Please read the license agreement carefully and accept it before proceeding with the installation.

Then click Install.

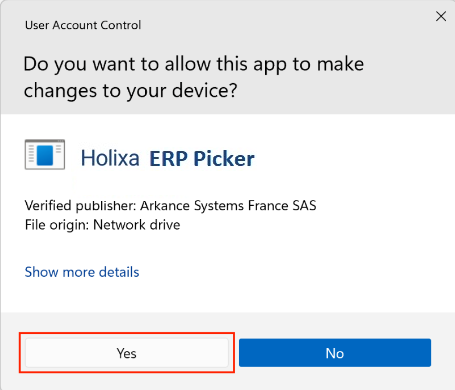
5. Allow changes to be made

If you are prompted by User Account Control, click "Yes" to allow the installation process to make changes to your computer.

6. Wait

Wait for the installation to complete.

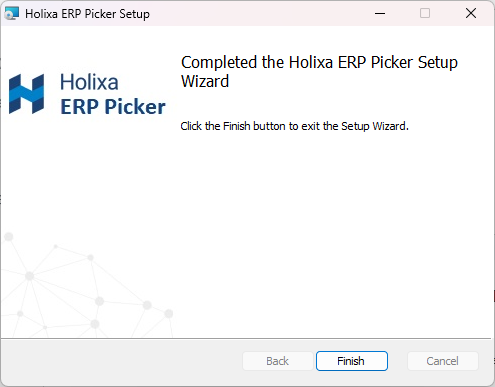
7. Completing the installation

When the installation is complete, click "Finish".

8. Starting Inventor

Start Autodesk Inventor and get access to Be.Smart ERP Picker.

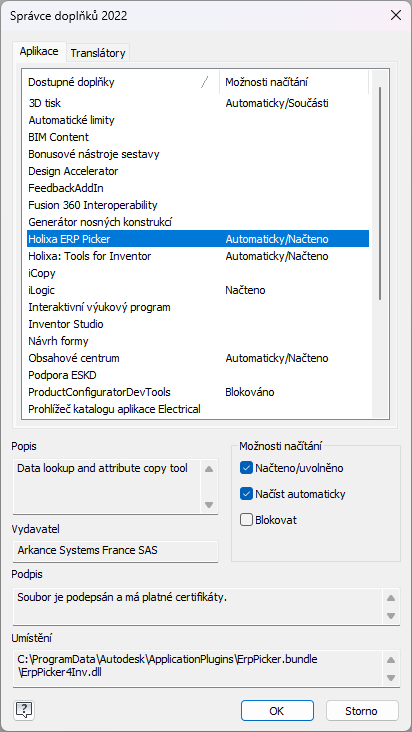
9. Unblock the add-on (if necessary)

In rare cases, if you get a message about blocking the add-in in Inventor, go to Tools -> Add-ins, find Holixa: ERP Picker and check the options Load automatically and Loaded/released.

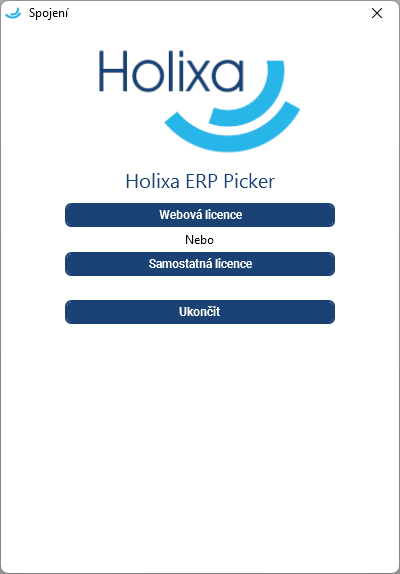
10. Choosing a web licence

The first time you run it, you will be prompted to activate the license.

Choose a web licence.

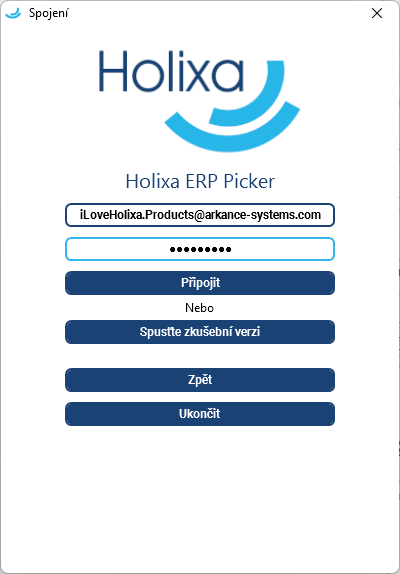
11. Login

Enter the login details you received by email or from your contract administrator.

Then click Connect.

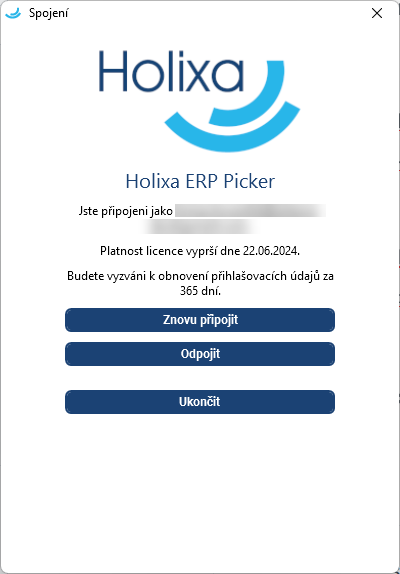
12. Close the license window

When you have successfully logged in, click Exit.

13. Continue in Inventor

Then continue in Inventor by opening any existing or new document.

License renewal

If the license is disconnected or expires, the Be.Smart ERP Picker functional commands are deactivated.

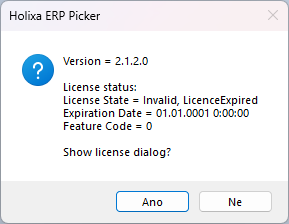
The license can be renewed using the About Add-on command - click Yes in the dialog box to continue.

The dialog box About Add-on displays the status and expiration date of the add-on.

After successful activation of Be.Smart ERP Picker, all commands will be available again.

Follow the to activate the license.

🔑
previous procedure
minimum requirements
download link